How to Get a Softer Look to Your Art
As artists, we spend a ton of time perfecting our craft.
And and then, after hours of working on a painting, exhausted and up against a deadline, we often fail the most important part of the process: photographing the piece of work. Too many of us are a little lost when it comes to the specifics and settle for a few sloppy shots before shipping the artwork out.
Since artists are required to submit piece of work digitally for exhibitions, grants, talks and your public contour page, skillful photography offers the starting time impression of your fine art and your professionalism.
We often see artists with incredible artwork, just have images that are shot in dimly lit, sloppy environments that distort the original artwork.
Knowing how to properly photograph your work tin can mean the divergence betwixt being accepted to a testify, or winning the favors of an important client or gallery manager.
We put together a few guidelines to photographing your artwork and then you tin can begin to photograph your artwork like a pro.

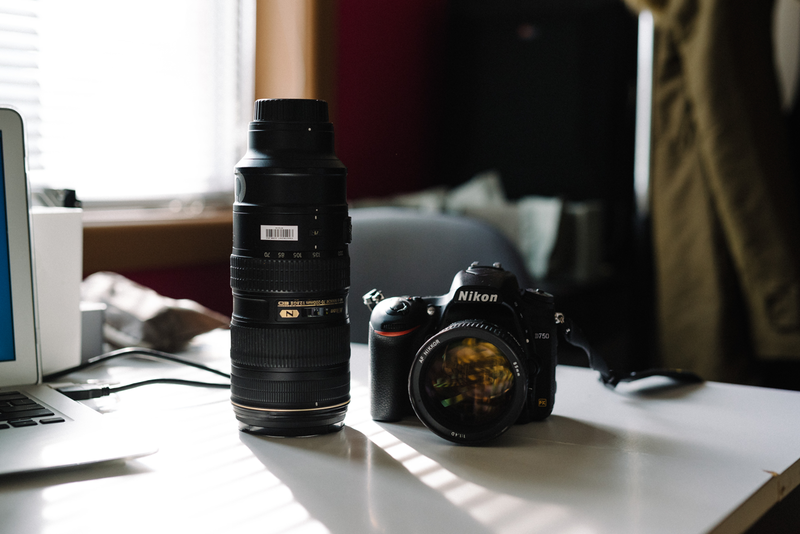
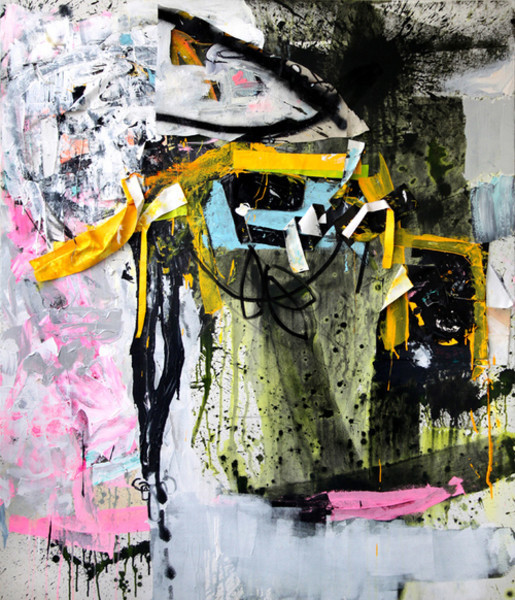 Howard Sherman shows how he documents his work on his Instagram account. On the right "Edgy Community of Unconventional Types."
1. Hang your artwork on the wall
We regularly come across artwork photographed leaned up against a wall and shot from a downwards bending. Find a neutral colored wall (white, black, gray) and hang your piece of work at a height where the center of your piece will be parallel to where your camera volition exist —either on a tripod or resting sturdily on a table or other surface.
two. Light your work properly
If yous are shooting your work indoors, do and so in a room with enough of windows and natural light. Some artists also enjoy photographing their work outdoors when it is cloudy or overcast, every bit indirect sunlight provides the best lighting. Natural light can be a beautiful way to photograph your piece of work as long every bit information technology is indirect.
If the weather isn't cooperating, or if you are up confronting a late-night borderline, you volition need to fix a lighting kit. The good news is, you don't have to spend a ton for a professional setting if you aren't ready to invest in one.
All you will demand is two lights at a minimum for 2-dimensional work. We have used lighting stands that you oft see in dorm rooms (the ones with three adjustable bulbs) or clench lights. Place the lights halfway between the camera and the sail at a 45-degree angle pointing toward the wall (this will help eliminate shadows and "hot spots" on the painting). If you take umbrellas for your lights, attach them now.
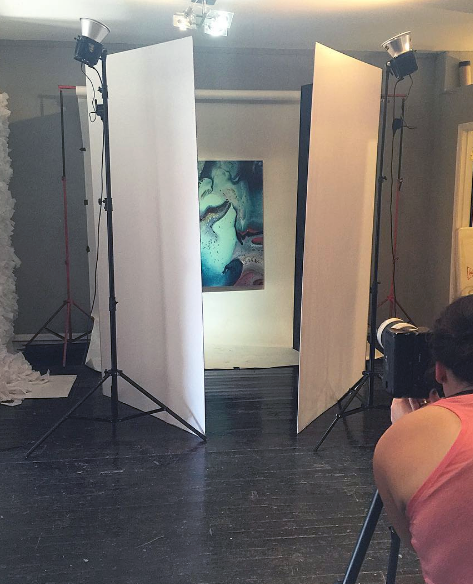

Arthur Brouthers shows how he uses white panels to reverberate light and a finished piece "Slipping Two" on his Instagram.
Calorie-free HACK: If you don't accept professional class lighting kit, you can easily hack diffusing the light with a white sheet or white plastic between the lights and your work. This helps to evenly distribute the light. Alternatively, a few sheets of white cream core tin can be set up to simulate a "raking light" effect where the lights are pointed at the cream core and the whiteboard reflects the calorie-free back at the piece.
three. Adjust your camera and settings
Once your artwork is secured to the wall, double check that the camera is set to the lens lines up with the middle of the painting. You want to position your camera and so that the frame is filled with nigh of the painting, with a scrap of background that you can crop out later. Information technology is important for many juries to run into the edges of the paintings to get a sense of scale.
The ISO and aperture of your camera are very important to get clear, crisp and bright images of your artwork. ISO references what film speed used to measure. The higher the number, the more sensitive the movie was to calorie-free and the coarser the prototype. In this case, since we want very crisp images, we want a low ISO. Studio shots will mostly be shot at ISO 100.
The f-stop of the aperture of your photographic camera adjusts how much calorie-free is let through the lens by making the opening bigger or smaller. The college the number, the less light is being passed through. With a DSLR the platonic range for shooting artworks is between f-8 and f-11.
TIP: Set your camera'south timer to four or 5 seconds then that pressing the shutter button doesn't create a milk shake in your image.

four. Edit your photos to perfection
There are plenty of gratuitous or inexpensive photo editing software alternatives out at that place that will help minimize any inconsistencies. While Photoshop nonetheless reigns male monarch, Photoshop Elements or Gimp let basic functions such as color correction, cropping, and other minor adjustments. Lightroom also offers a subscription-based editing programme that professional photographers swear by.
There are, of course, many boosted nuances and tricks that could be added to this initial guide. However, if you are looking to improve your photographs and represent yourself professionally on your public profile page, this is a great starting place.
Source: https://www.artworkarchive.com/blog/4-steps-to-photographing-your-art-like-a-professional
0 Response to "How to Get a Softer Look to Your Art"
Post a Comment